| Can you believe August is just around the corner?! I have been thoroughly enjoying summer this year, but I’m also super excited to get back to school. With that said, did you know that more than half of students lose up to forty percent of the previous year’s gains during the summer break?!! That is a huge loss for our students and can really take a toll on their confidence heading into Kindergarten. It also takes about three weeks for children to adjust to an earlier bedtime and wake up time. I don’t know about your household, but for us, this is always one of the big things we struggle with when looking at what we need to do to get ready for back to school. Keeping those things in mind, we came up with the perfect solution to help with both areas for our soon-to-be Kindergartners: our Back to School Boot Camp!! Our Back to School Boot Camp was created last year with these specific needs in mind. We still do lots of fun activities including story time, art, fine motor skills, large motor skills, snack time and phonics fun to list a few. Our format is similar to what they will experience in a Kindergarten class including the three hour time frame. Last year we found that many of our students had forgotten basic skills that they had previously mastered and over the course of our two week program they progressed super fast and were able to gain those skills back. Our student to teacher ratio (only 10 students max) for this class is much smaller than what they will experience when they attend Kindergarten in a few short weeks. This allows them to get the specific help they need, all in a comfortable setting without being overwhelmed with the busyness of a full Kindergarten classroom. We have just a few spots left in our amazing boot camp and are opening it up to former students and the general public. If you have a friend that is interested in joining us, they are more than welcome! Spots are reserved on a first come first serve basis. Our class will be held on Tuesdays, Wednesdays and Thursdays beginning August 3rd and ending August 12th. Drop Off will begin at 8:50, with class beginning at 9:00 AM and ending at 12:00 PM. Boot Camp is a great deal at only $50 with no registration fee, supplies and snacks included in the cost. Feel free to reach out to me with any questions, concerns or to get registered for our camp!! I hope to see you all at Boot Camp soon! Mrs. Fun |
All posts by kim
Mess Free Color Fun!!
Good Afternoon Everyone!!
I sure missed being in class last week and leaning more about colors with our students. Today, I wanted to show you a fun Mess Free activity that will help our kiddos learn how secondary colors are made from our primary colors.
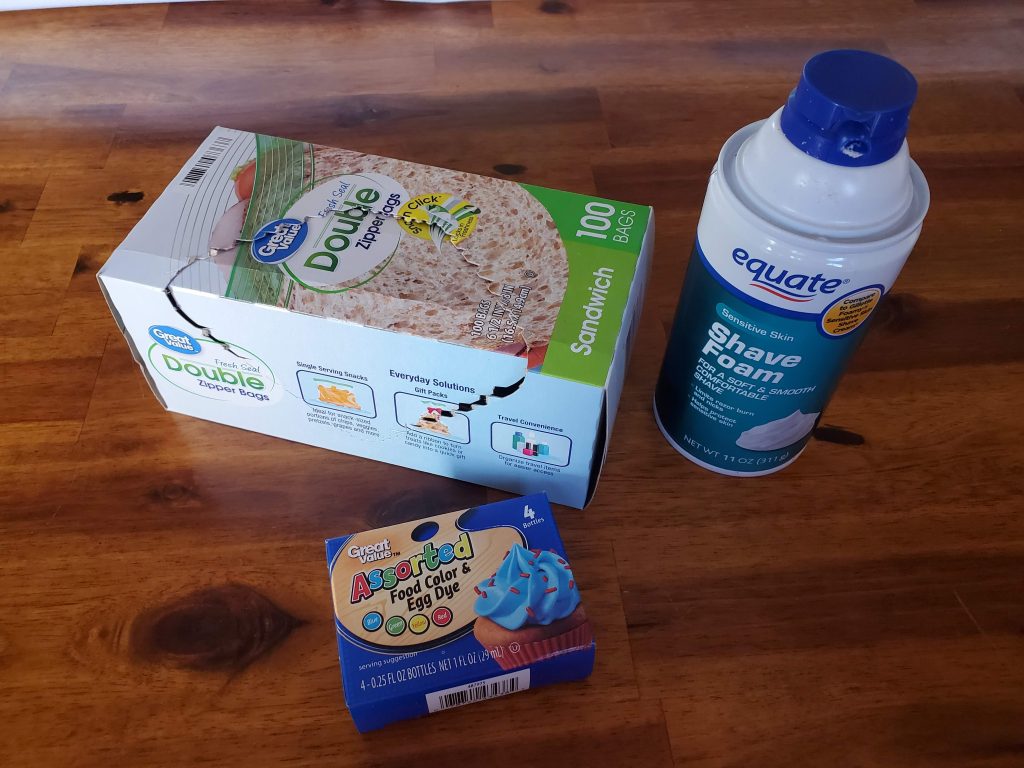
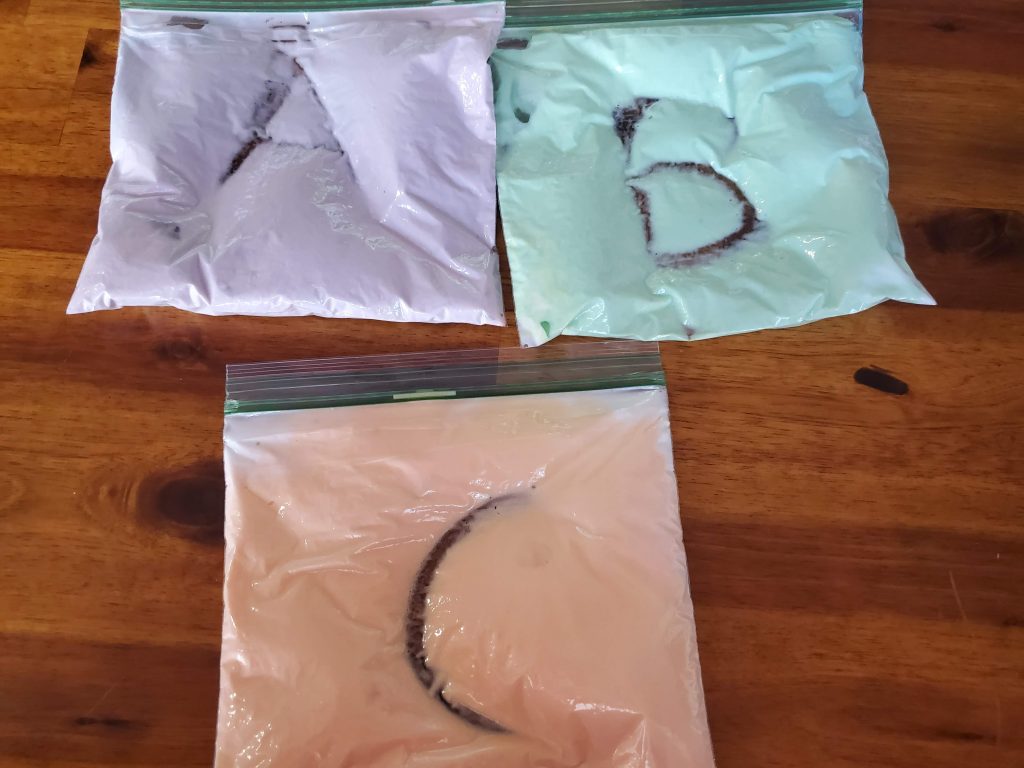
To start, you will need some plastic baggies, shaving cream and food color.
You’ll want to spray some shaving cream into the bottom of a few baggies. Make sure to not over fill your baggie or you’ll go from a mess free activity to just a big mess. Once you have shaving cream in the bottom of your baggies, put a few drops of two primary colors in each of your baggies.
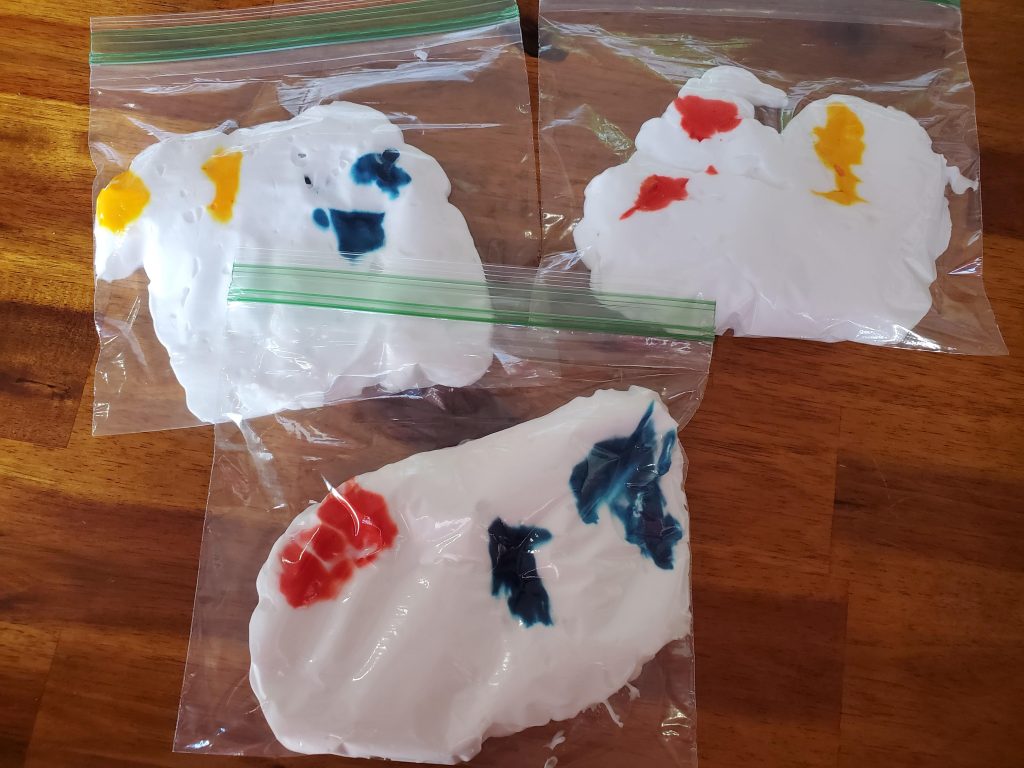
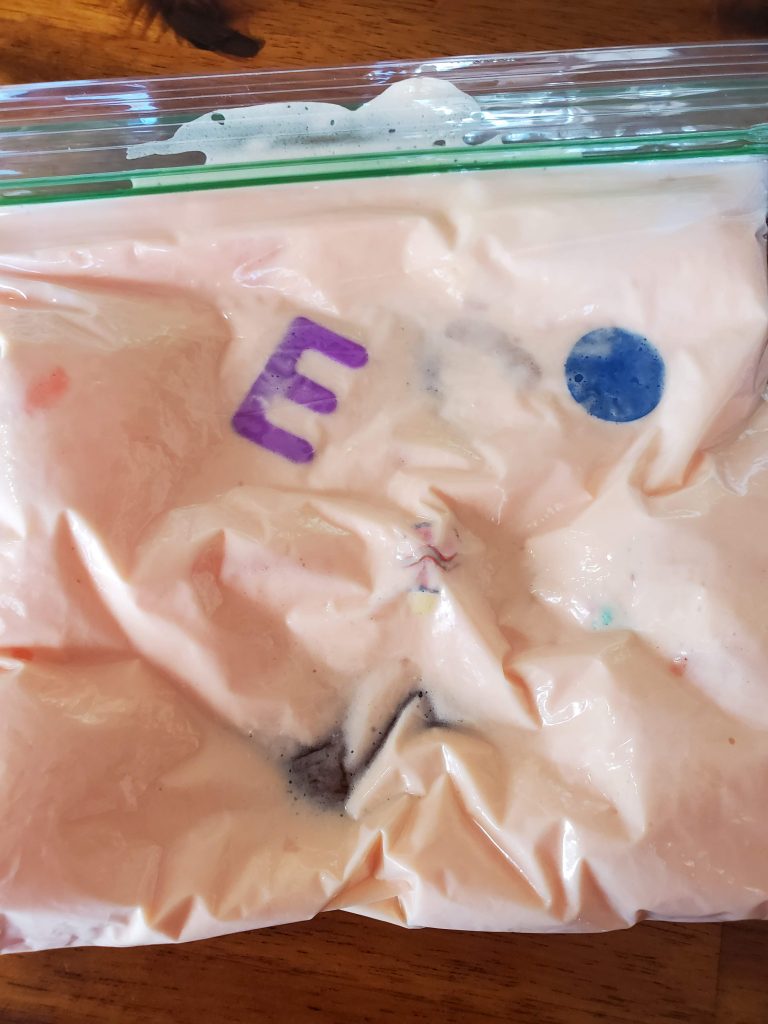
You’ll want to smash your yellow down a bit once it’s in the baggie, otherwise it tends to look like orange. Then, get as much of the air out of the bags as possible and seal them up. Now on to the fun part! Have your child mash, moosh and mix the colors together only one new color remains in your bag.
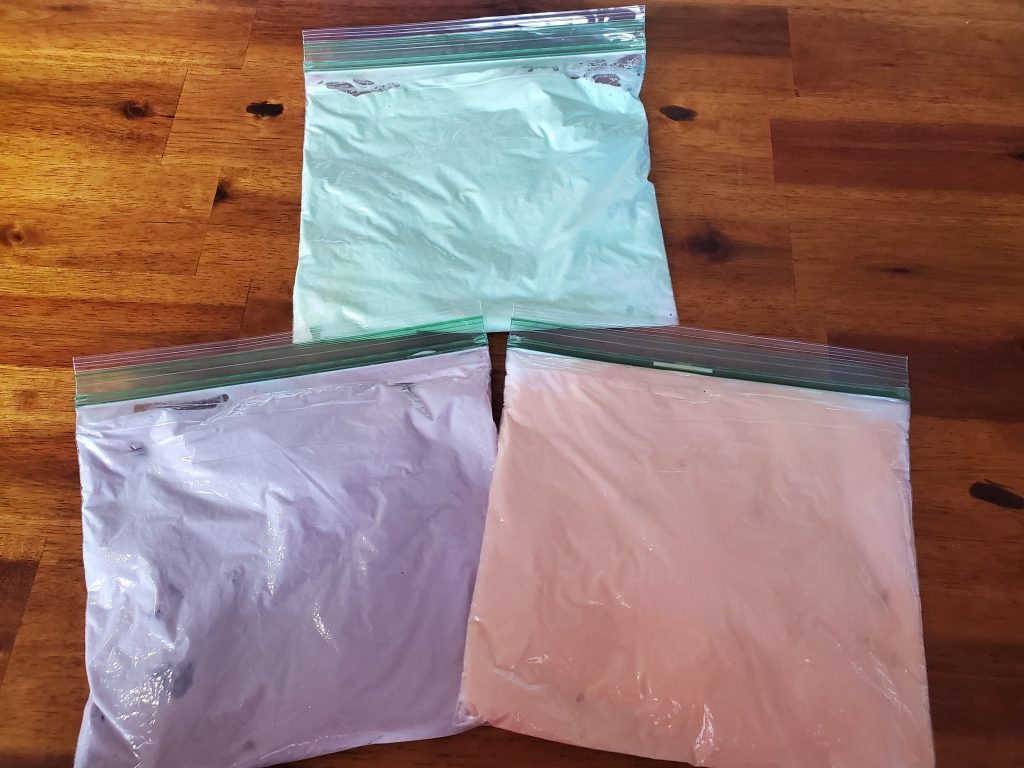
Your child will love to mix up these bags and play with them for hours. To add even more educational value you can use these bags to further the fun by checking out the examples below.
I’d love to hear or see what fun things you do with your bags and what your child thought of this process. Feel free to comment here or on our Facebook post as well!
Idaho Falls Preschool Winter Fun: Homemade Yo Yo
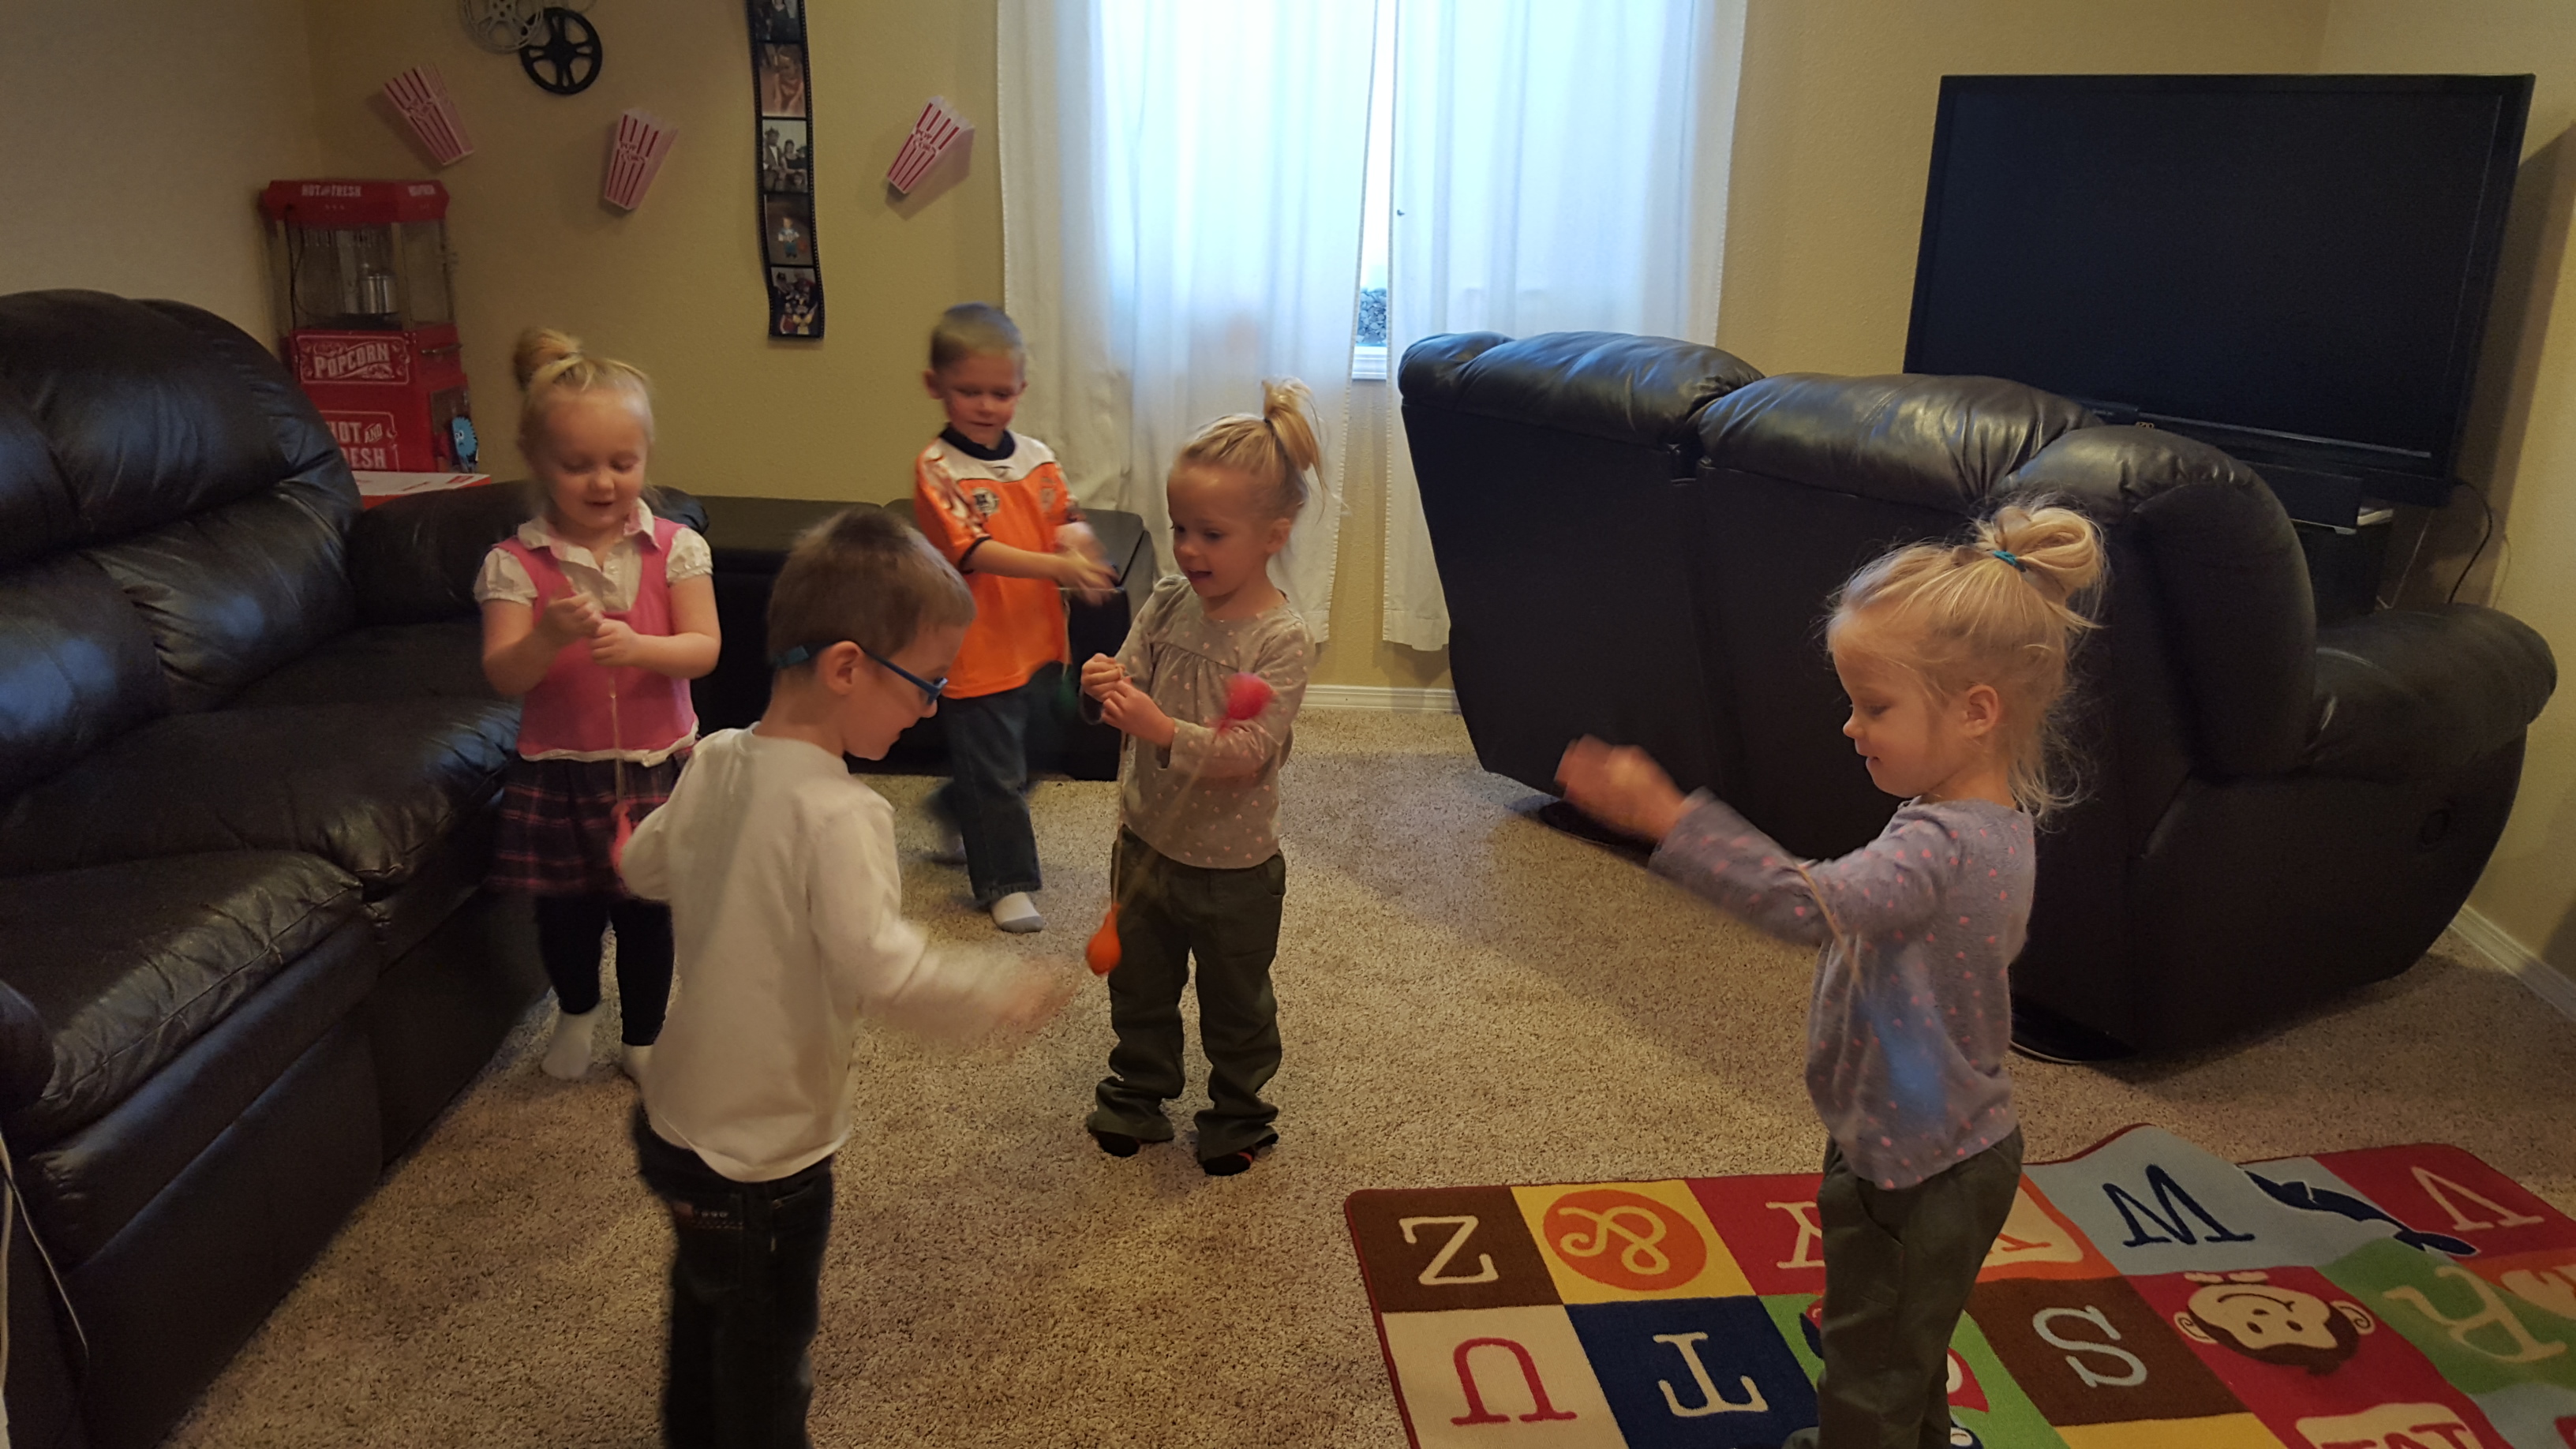
Hi Everyone!! Winter has surely set in and while things are going fantastic in our Idaho Falls Preschool classroom, we are all longing for something active we can do while staying warm. Enter the letter Y and the great opportunity to make homemade yo yos!!
This week we have learned all about the letter Y, yo yos and different types of sports. It has been a week full of sports stories and fun learning activities. To finish the week off and get us moving, we made homemade yo yos. The awesome thing about these yo yos is that they are so simple to make and a blast to play with. Along with the steps to make the yo yos, I’ve also added a few pictures for reference. Let me know what you think in the comments!
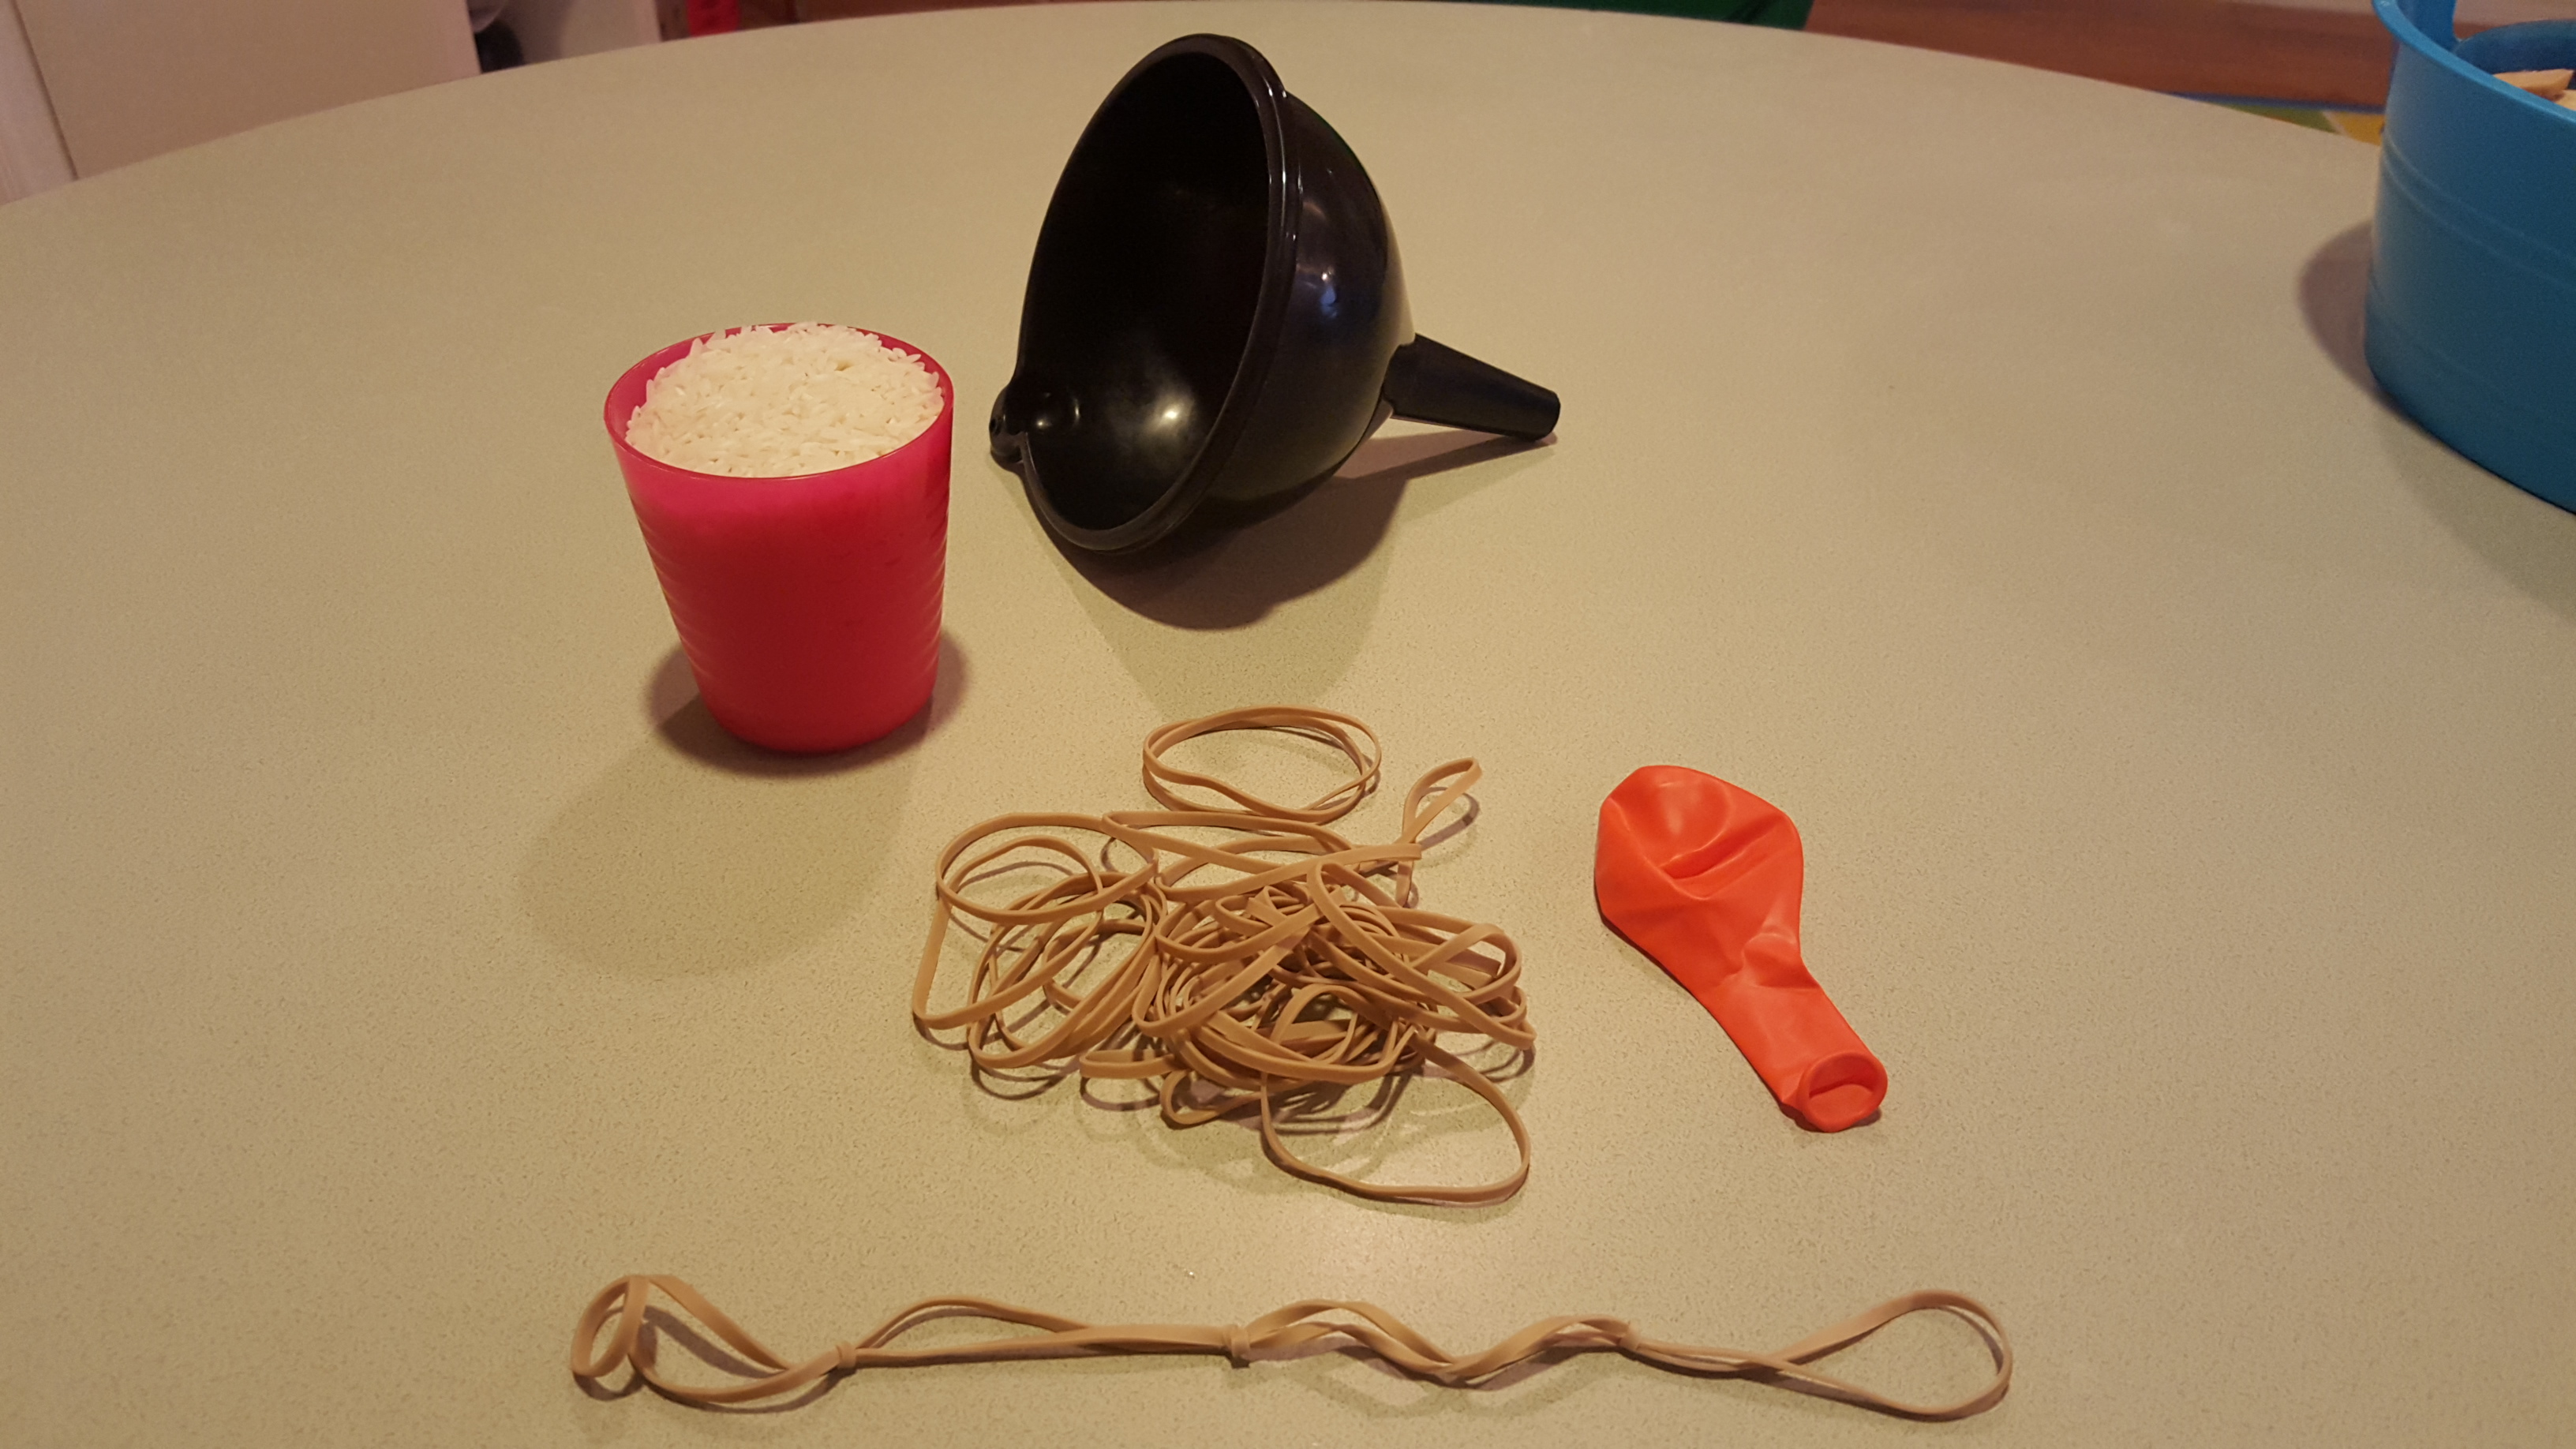
Supplies per Yo Yo
1 balloon
1/4 cup- 1/3 cup of rice
funnel
4 rubber bands
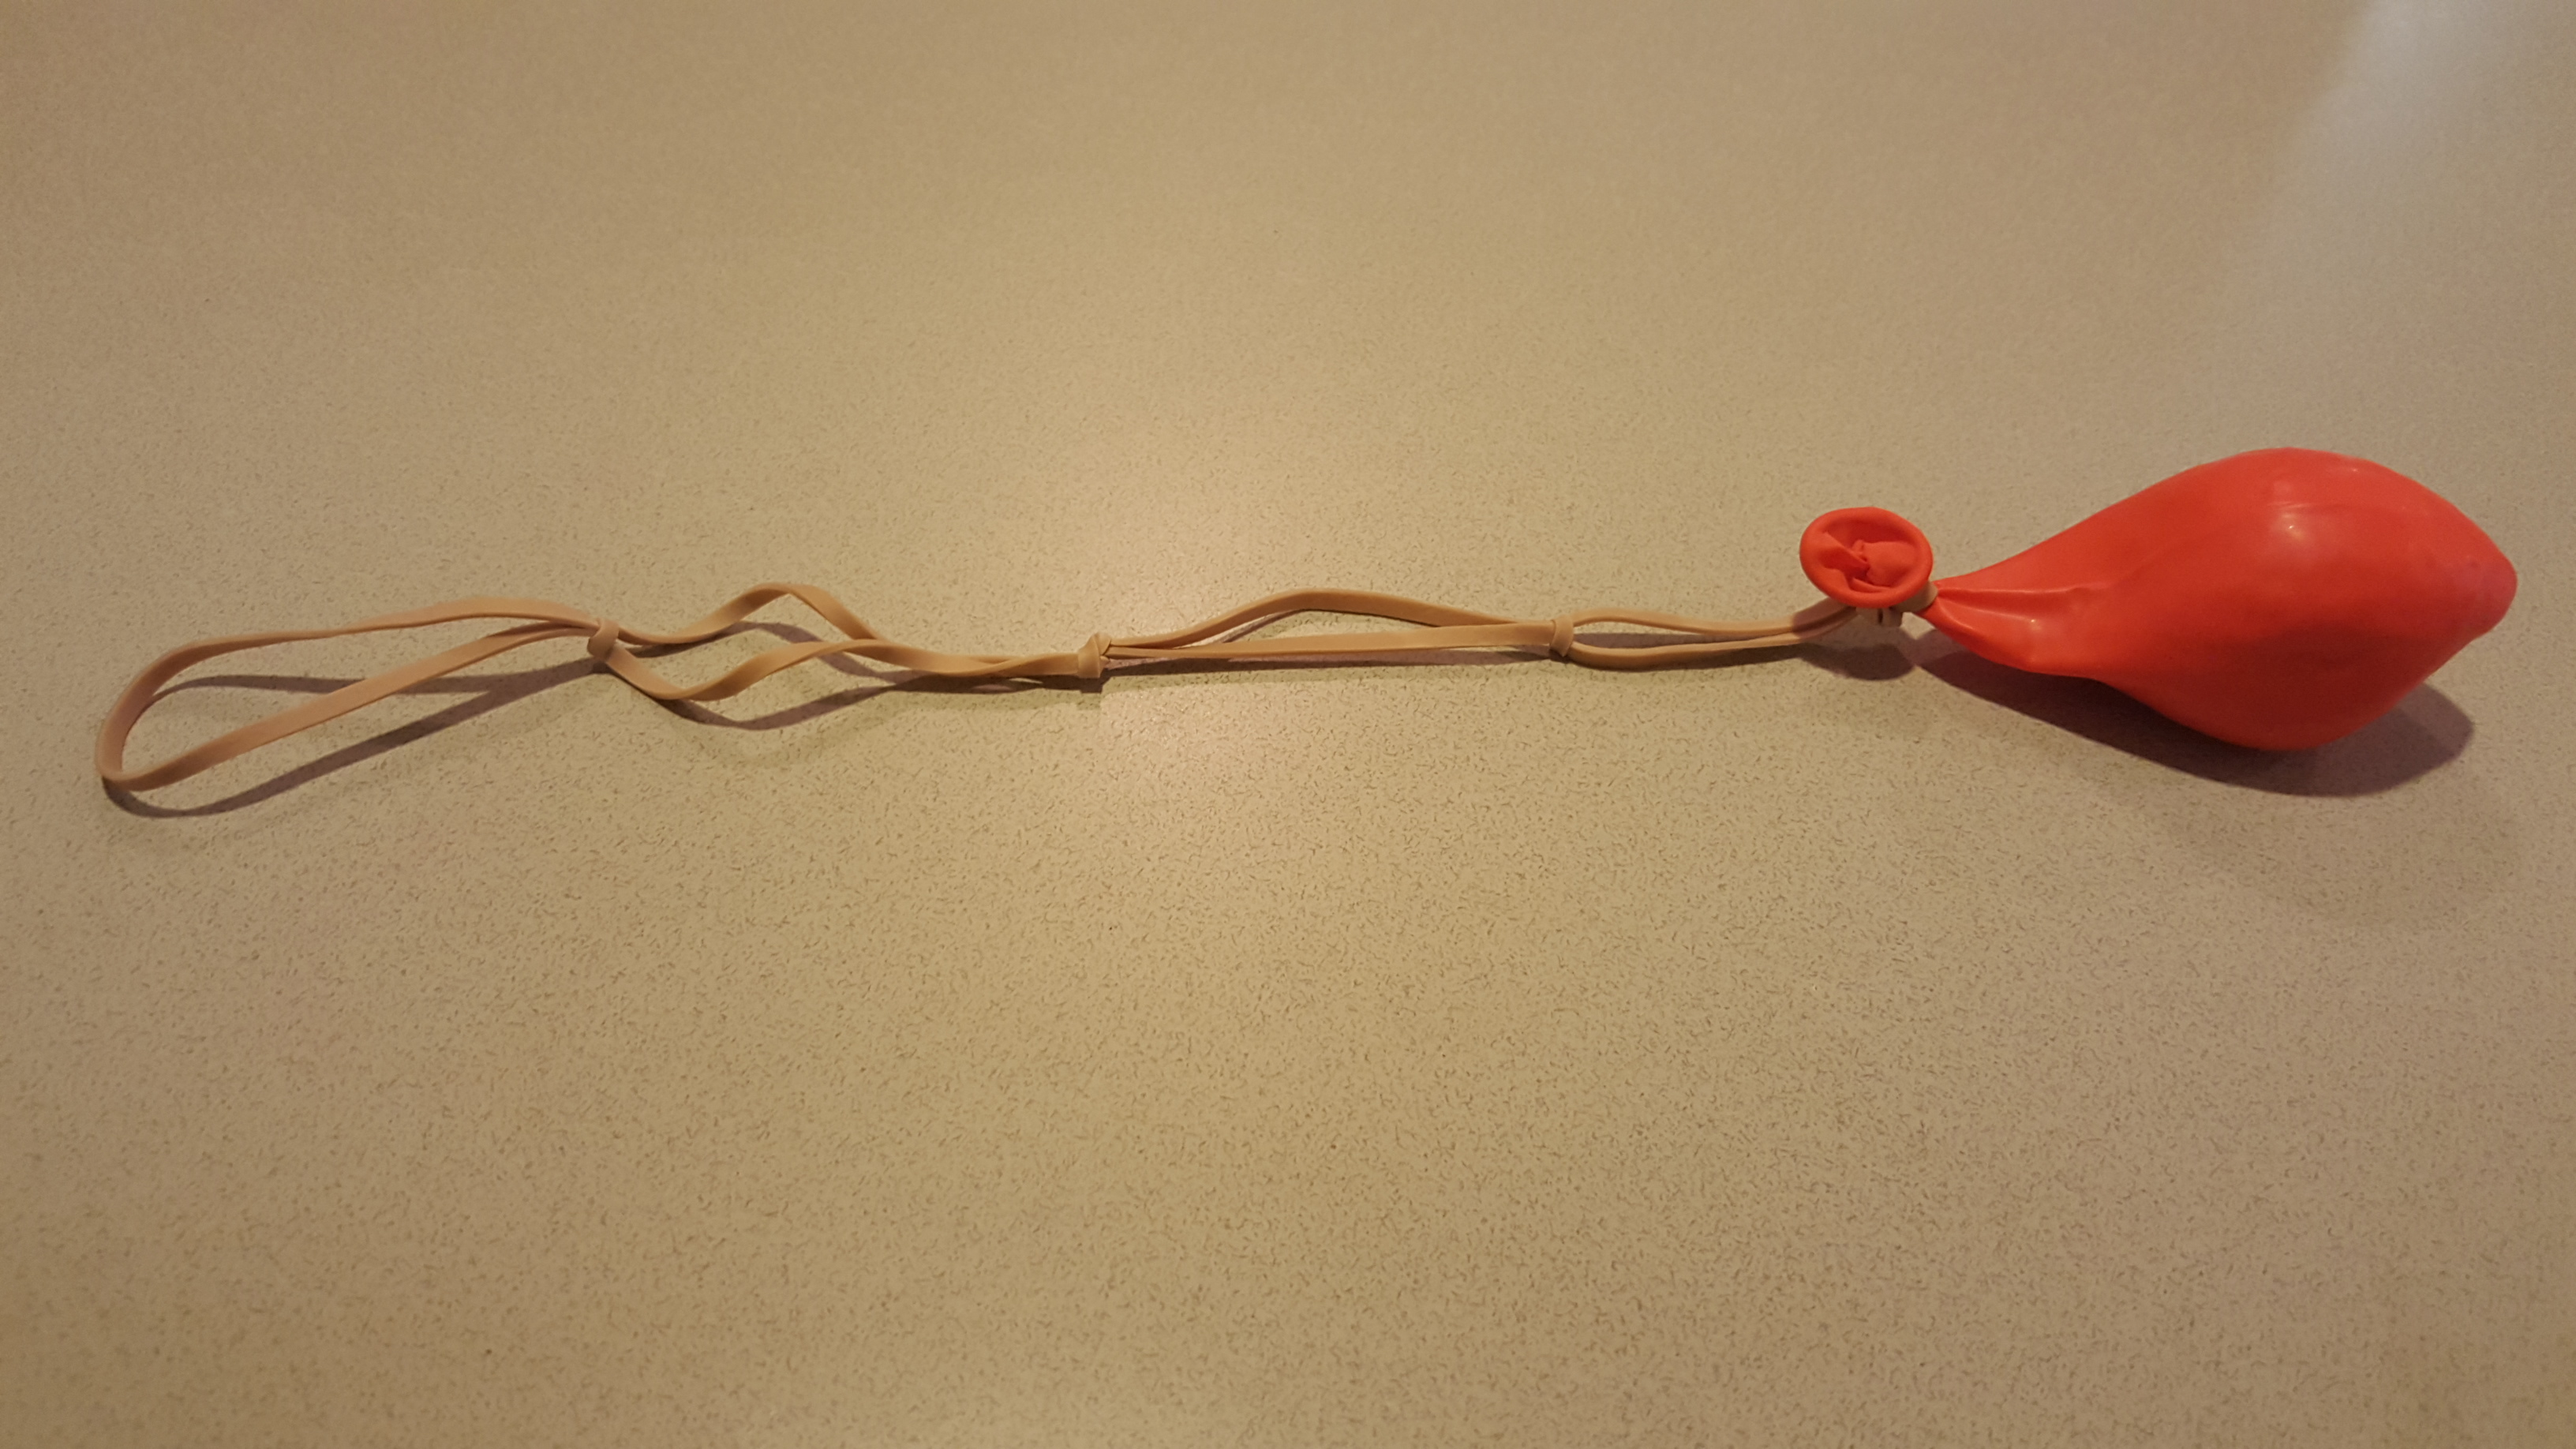
Directions
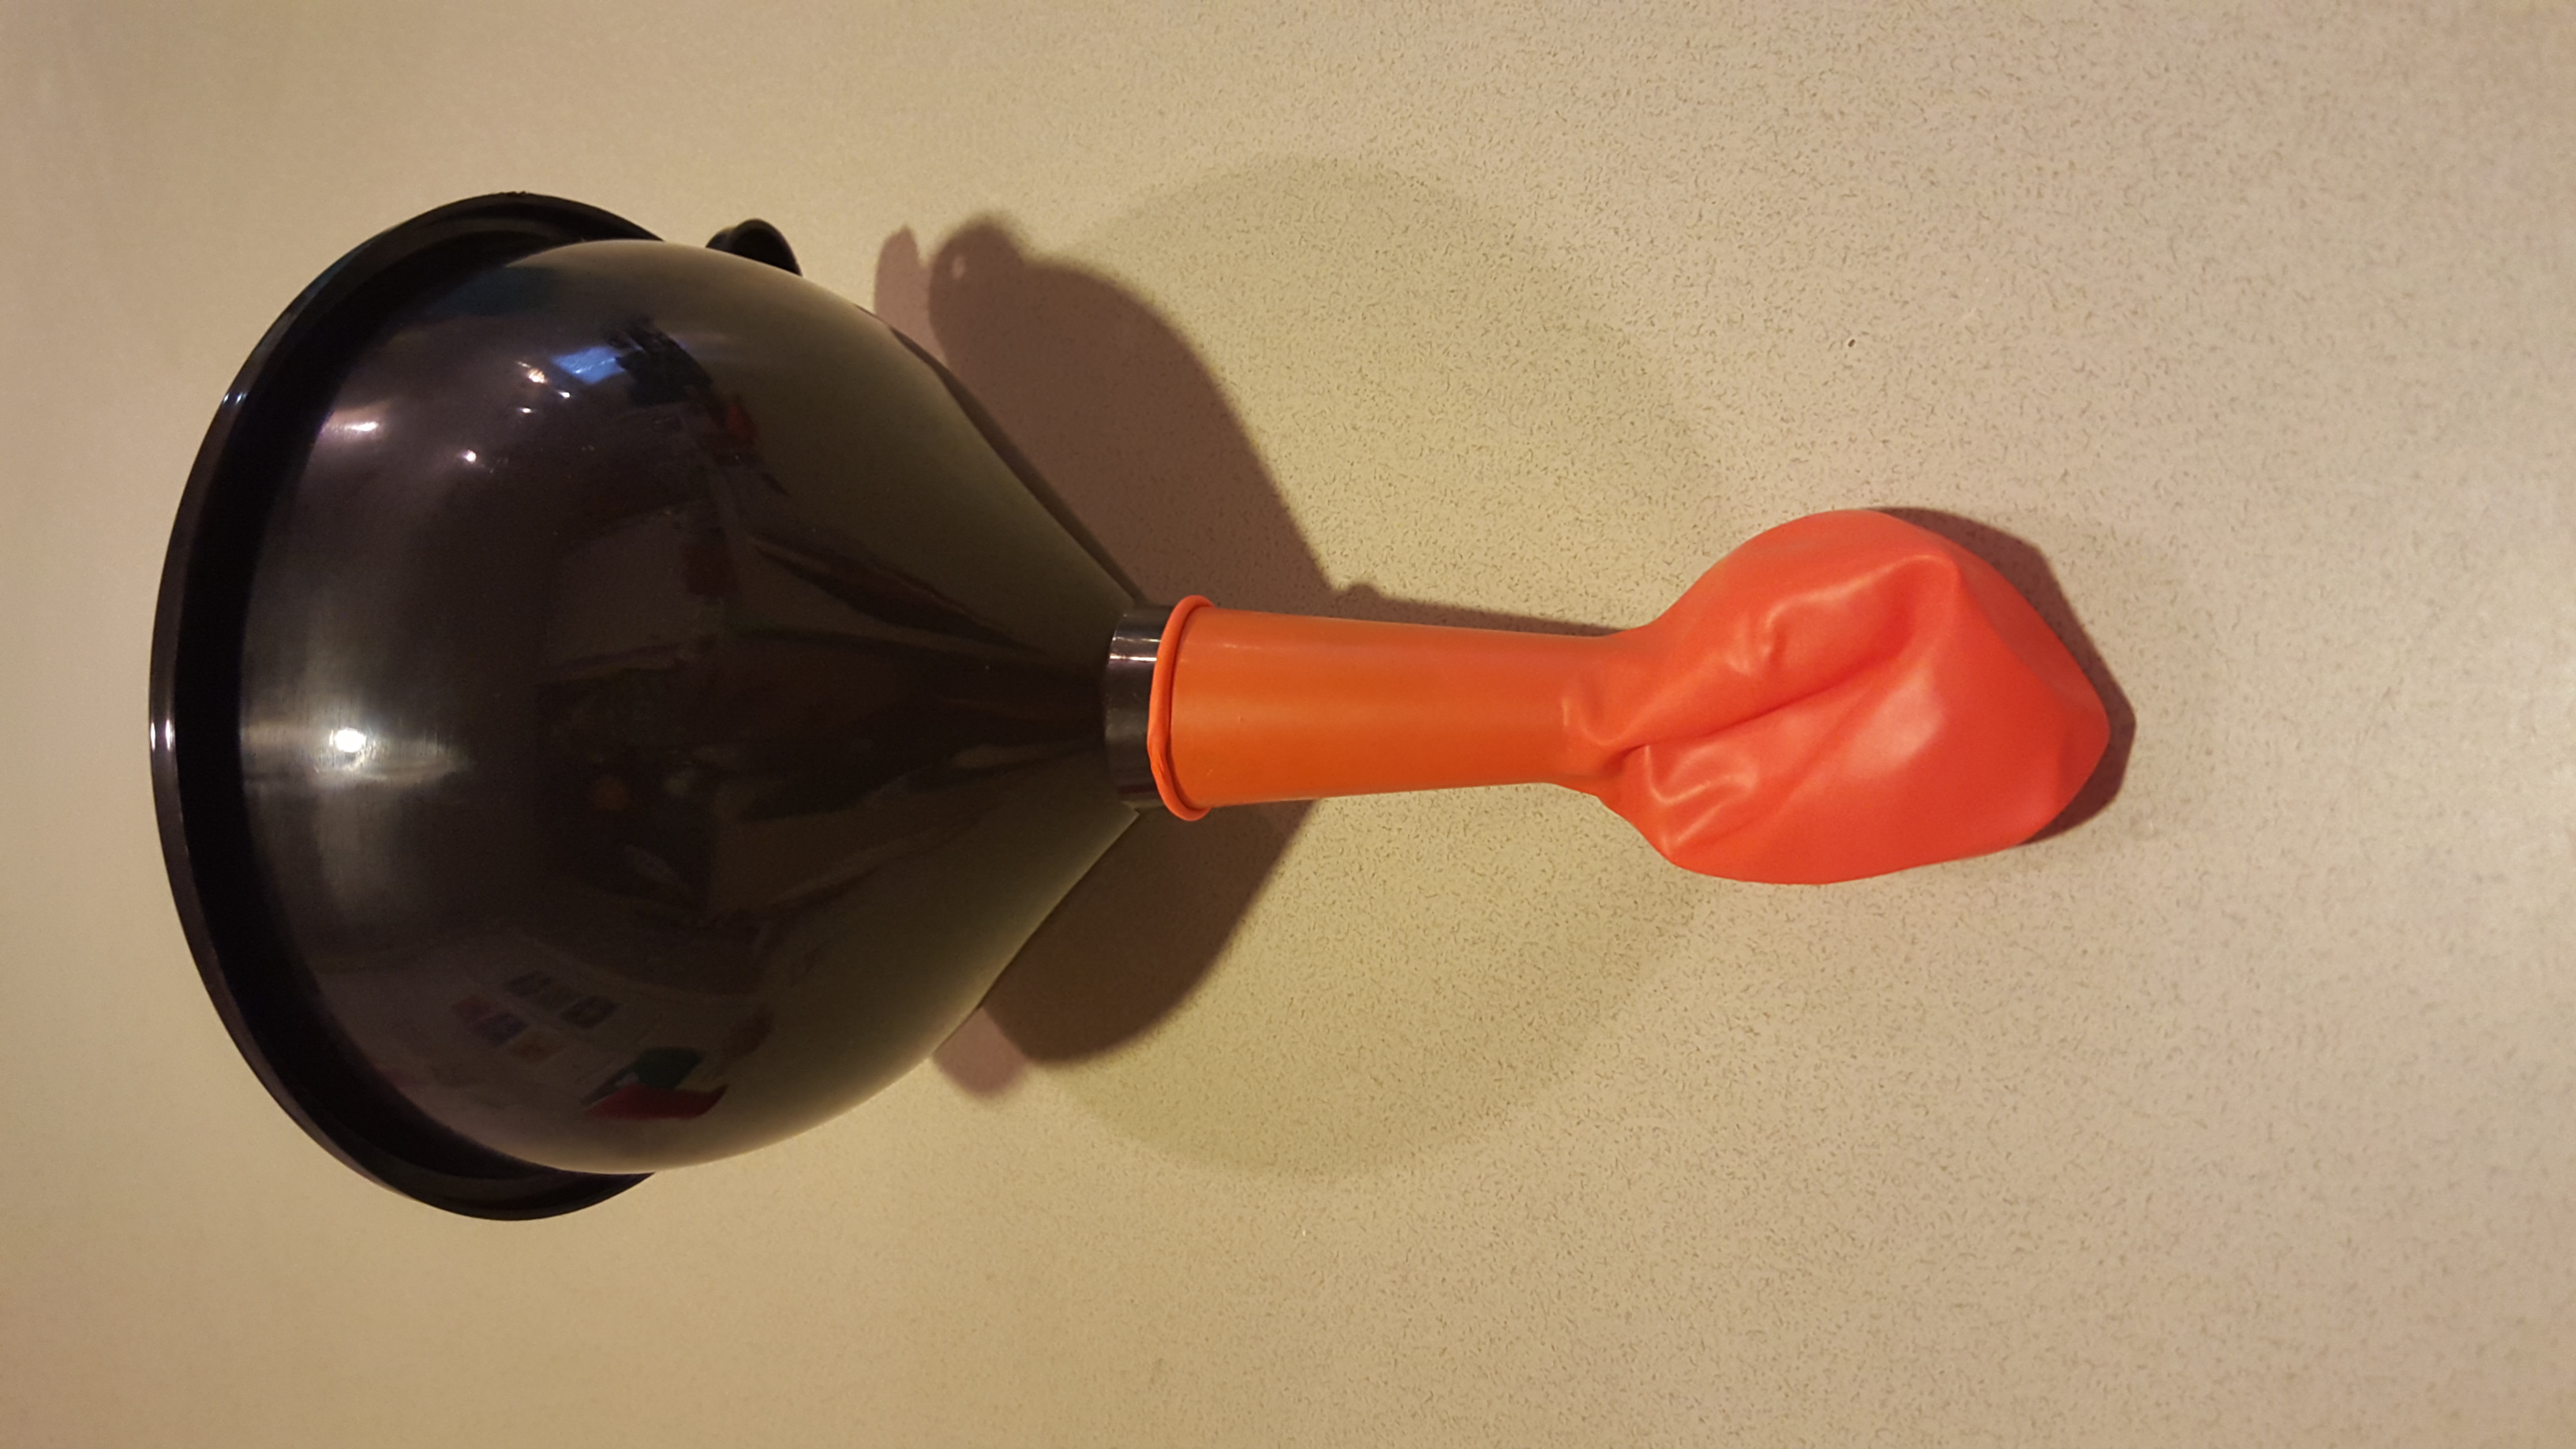
Insert the end of the funnel into the balloon, making sure that the funnel end reaches into the middle of the balloon.
Slowly pour rice through the funnel into the balloon, filling the round part of the balloon completely.
Remove the funnel and tie a simple knot in the balloon.
Tie the rubber bands together using slip knots, so that you have a long string of rubber bands.
Tie one end of the rubber band string to the top of your balloon filled with rice and Voila! Your homemade yo yo is ready to go! Have fun and don’t forget to let us know what you think of these fun yo yos.
Idaho Falls Preschool Celebrates Dr. Martin Luther King Jr. Day
Idaho Falls Preschool Celebrates Dr. Martin Luther King Jr. Day
As I prepared for this week’s lessons on Dr. Martin Luther King Jr. and our theme of Friendship and Sharing, I couldn’t believe how seamlessly these two themes seemed to blend together. I would love to say that putting the two of these together was completely planned and that I am just that good, but in reality they just fell together on the same week in my planning schedule. With that being said, I could not have been more pleased with how they have come together.
The neat thing about these themes is that they mirror each other. Dr. Martin Luther King Jr. wanted to live in a world were people were judged by the content of their character and not the color of their skin. He wanted a world filled with peace and love. Keeping that in mind as we look at friendship we find similar ideas. True friendship is all about what is on the inside and not the outside of people. If you have ever seen little kids make friends, it looks like one of the easiest things possible. “Want to be friends?” “Okay.” It’s usually that easy for little ones.
As we age, it seems to get more difficult though. Thoughts from other kids, adults and media that kids are exposed to, can sometime make kids second guess this once easy process. This is why we need to touch on the tough subjects while they are young and in Idaho Falls Preschool, so that they are already prepared to handle tough situations as they become older.
This is one of the reasons we spend a whole week talking about friendship and sharing in our Idaho Falls Preschool. It is a great start for these kids to understand that all kids are the same on the inside, no matter how they look on the outside. They need to know that all kids want the same things; to be accepted and loved by their friends and families.
To illustrate this for little ones, gather one of each of the following supplies for each person in your family or activity group:
- A small treat-like a fruit snack, or individually wrapped snack (you’ll want to use the same snack or treat for everyone)
- Box for each treat
- Wrapping Paper–Some beautiful paper, some overly plain paper
Next, wrap each treat in either the pretty paper or the plain paper.
Lastly, have each person pick a present randomly, but do not let anyone open their present yet.
Have a conversation about who’s present is the best. Lead the discussion to the point that everyone agrees on the simple truth that you can’t tell which present is the best, because you don’t know what is on the inside. Let everyone unwrap their gift. After the excitement of the treat wears off a bit, circle back around to the idea that it didn’t matter what the outside of the present looked like, the inside was all the same. Let everyone in the group know that this is the same with people. We all look different on the outside, but it’s what is on the inside that counts. This means that we can be friends with anyone. No matter how they look, their social or religious status, we are all the same on the inside. What an awesome thing to know and hold in our hearts.
Lastly, I’ll leave you with this powerful quote by Dr. Martin Luther King Jr. Himself.

Colors, Colors Everywhere!!
 As promised this week we are going to discuss how to introduce and expand your child’s knowledge of colors. We’ll break these up into three basic levels of learning with some ideas of what you can do with your little ones in each level. Let’s get to it…
Introductory Level
The introductory level of learning colors can be started while your littles are infants and continued through toddlerhood or until they are ready for the next level. The easiest way to do this is to point out colors of everything around you and things in your Idaho Falls Preschool. Your shirt is blue, the plate is green, the milk is white; these are all examples of things you can incorporate into your everyday life. Once your little one can repeat back to you some of the names of a few colors you can continue on to the next level of learning.
Intermediate Level
The intermediate level of learning colors includes begin able to differentiate colors from each other. There are many activities that you can do to promote identifying the colors from each other in your home or that can be done at an Idaho Falls Preschool. One fun activity is making up scavenger hunts to find items in your home of each of the primary (red,yellow,blue) and secondary colors(purple,orange,green). Make a list of the colors you want them to find items for and let them loose. When they find an item with the corresponding color, have them either check off the item or draw a picture of the item they found. When your child can name all of the basic colors, move on to the advanced level.
Advanced Level
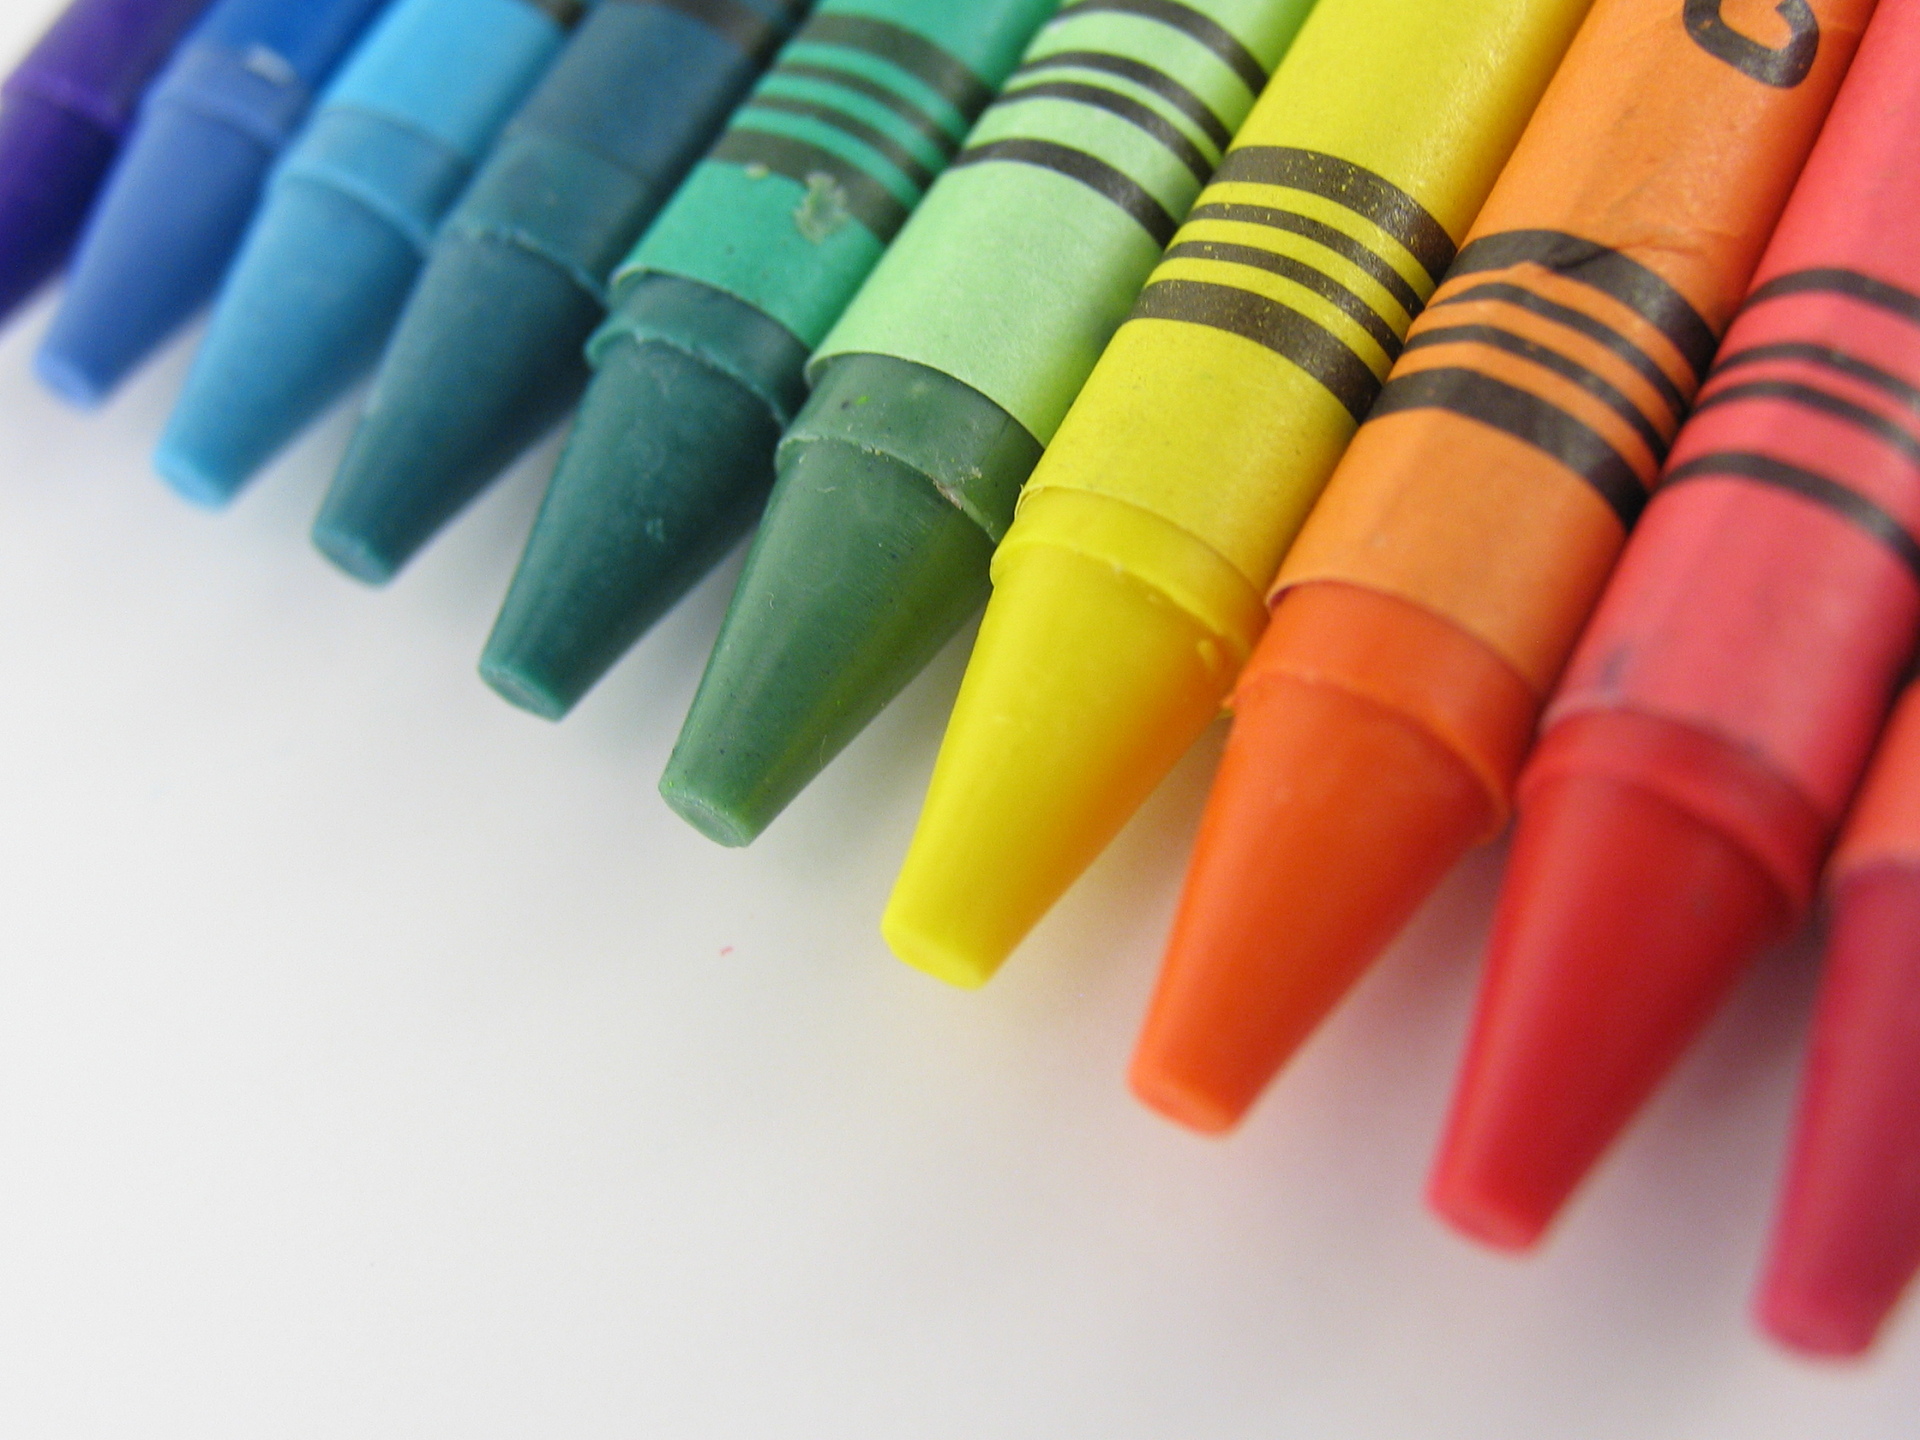
The advanced level of learning colors has multiple facets. This level includes learning advanced colors like maroon and navy, sorting like colors and learning how to make colors. This level of learning can be started with young children, but will most likely not be mastered until the elementary school years. Starting with a large box of crayons is a great way to show and sort advanced colors. Your little ones can group like colors while you help name them. Another great color sorting activity (and one of my personal favorites) is to have your children help you sort the laundry into piles of like colors. A learning chore… my favorite! To see how colors are made you can take some food coloring and add a few drops of two colors to a ziplock bag filled with shaving cream. Have the kids mash the bag around and watch as they create new color.
Color is found everywhere in our world and is one of the most fundamental areas children will learn. As I like to say, make it fun and the little ones will come. So get our there today and have some fun helping your littles learn about colors!
Help I’m drowning!!

I had a question from a Mom the other day, about what she should be working on at home with her preschooler. With such a plethora of areas and information to choose from, many parents feel like they are drowning with options and ideas. Because of this I thought I would cover an easy process of how to decide what will benefit your child the most and get you out of the ocean and on to dry land.
- Assess your child’s needs.
- How many colors, shapes, numbers and letters does your child know?
- How does your child play with other children?
- How well does your child follow your instruction/instructions of other grownups?
- Compared to other children how is your child’s gross and fine motor skills?
- Pick two to three areas that your child has difficulty with or has less exposure to.
- These could both be academic areas or a mixture of social, physical and/or academic areas.
- Don’t stress too much about your chosen areas, they will just be the focus for a short time period and mastery is not expected.
- Begin working on your two to three selected areas.
- Talk about the areas to your kids whenever you can. Example: Following Instructions—Did you notice how Timmy did just what he was asked by his Mom? How can you be like Timmy?
- Point out anything that pertains to your area in the home and out and about. Example: Shapes—What shape is this plate? A square? A circle?
- At least once a week, take the time to do some type of project that focuses on the areas your working on. Coloring pictures, making crafts, visiting friends….
- Move on to new areas, reviewing old areas when you can.
- When your child is doing well with a selected area feel free to move on to another work area.
- Review old areas casually but often to help reinforce both short term and long term learning.
These steps can be repeated over and over again, with a few tweeks in subject matter, throughout your child’s life. They will help identify areas they need help with and will put you on the right track for creating an environment of growth and development that will be specific to your child’s needs. Using this process will also help weed out all of the extra stuff and give you a clear focus on what you are working on.
Now these steps are meant to be pretty vague so that they will continue to work for whatever areas you can think of for a very long time. With that being said, I also want to equip you with specifics for each area your preschool should be working on right now. So check back with us as we’ll be starting with colors and working our way through each preschool area of development. See you soon!